Page 1 of 3
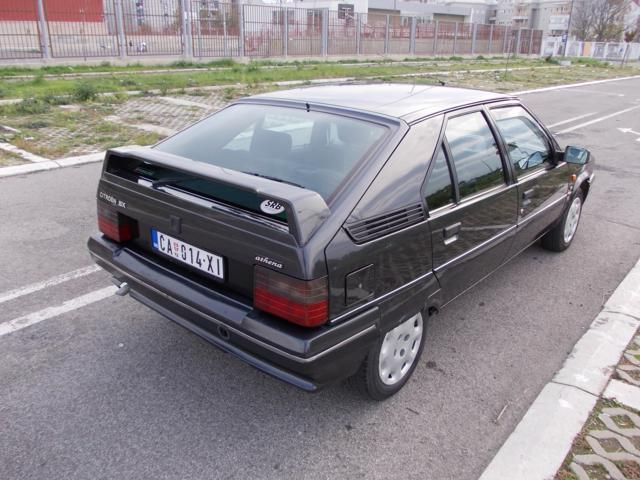
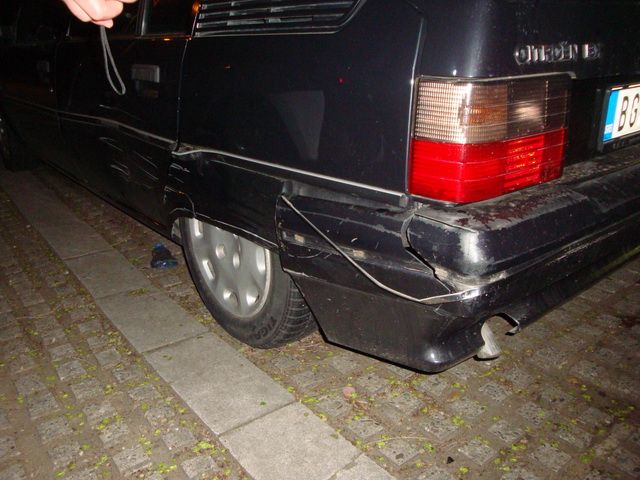
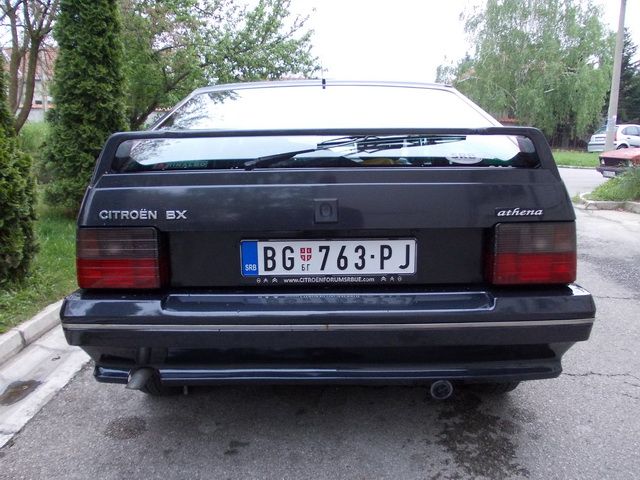
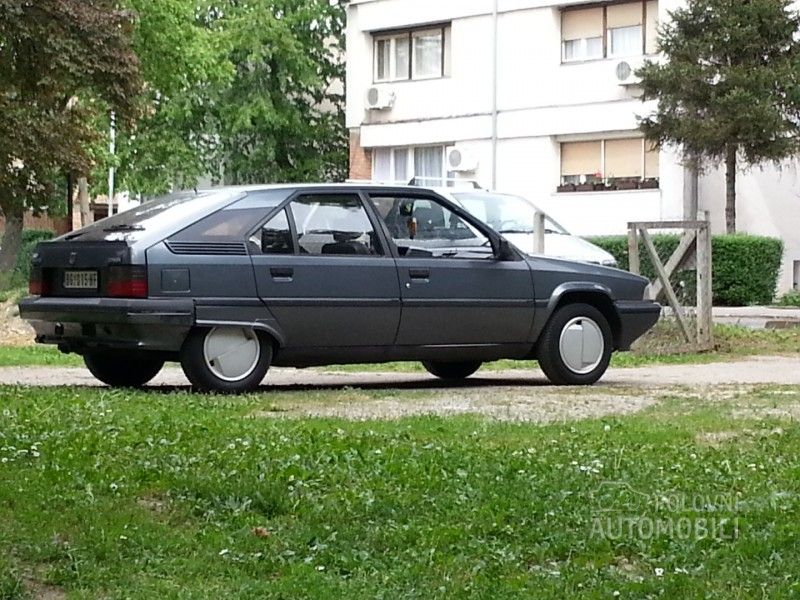
1992 Bx Image from Serbia
Posted: Tue Jun 24, 2014 8:39 pm
by BXImage
Re: 1992 Bx Image from Serbia
Posted: Tue Jun 24, 2014 8:50 pm
by mds141
Hello Milos and welcome to the BXClub. That is a lovely looking BX you have and I see it is also fitted with factory A/C. Are there many BX's in Serbia?
Re: 1992 Bx Image from Serbia
Posted: Tue Jun 24, 2014 9:07 pm
by BXImage
BX was EXTREMLEY popular in Serbia, it was well spread but numbers are going down in recent years. I think they'll be gone in next 5 years for sure, we've seen that happening with Citroen GS 10 years ago.

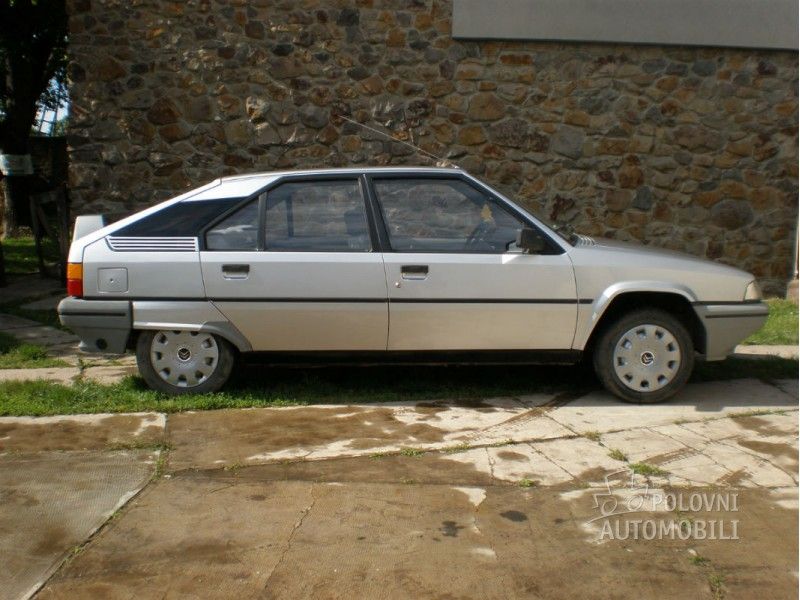
Most of the cars found in the adds are rubbish, but there are some exceptions - like this 1990 16 TRS that was bought as new in Yugoslavia:
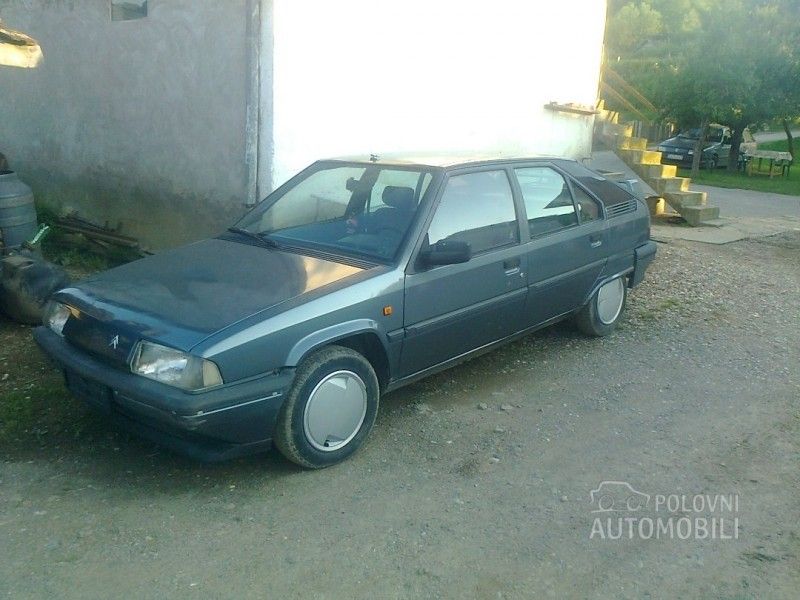
Or this 1987 TRS with the same story:
Or even this 1991 1.9 diesel, that was siezed by the customs and sold on auction. It came out in the adds this afternoon, and it was sold by 5 pm!
Also, there is a bunch of junk - 95% of all BX's in adds are beyond saving.
In general, Serie 2 was more popular than Serie 1.
Re: 1992 Bx Image from Serbia
Posted: Fri Aug 01, 2014 9:00 am
by BXImage
Here are some stuff that were done on BX since last November.
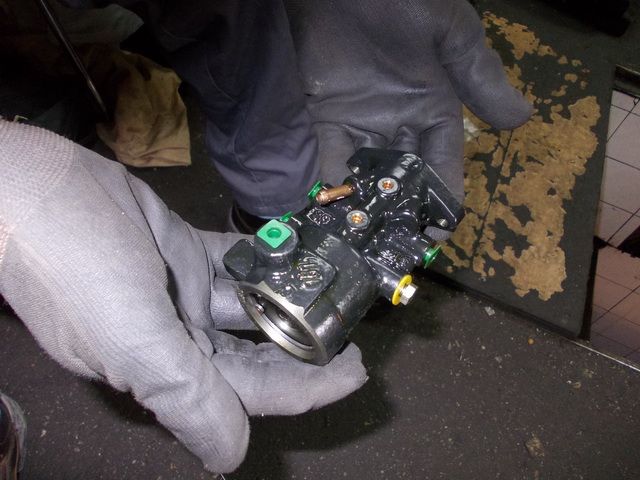
First thing - changing master brake cylinder with new one - it requires some gynecology experience if you have A/C.

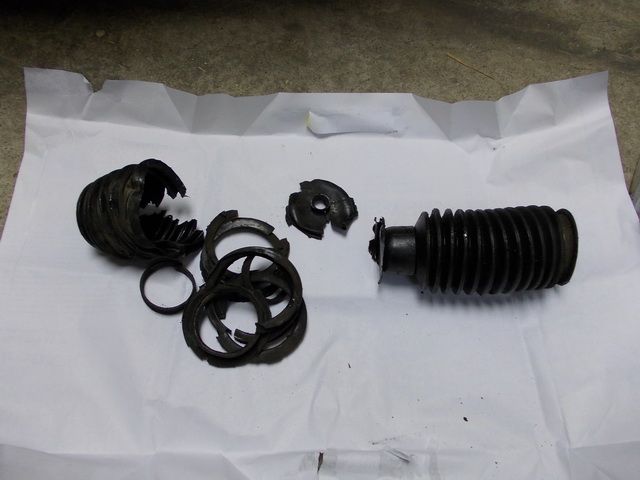
Steering rack gaiters - managed to find Sasic, car still had originals on that fell apart:
CV joints and left ball joint were also changed at the same time - CV joints were ITN, and ball joint was MOOG. Altough ITN is a Chinese company, it is suprisingly high quality. Only ITN universal gaiters that came with the joints were changed with Ruville made specially for BX.
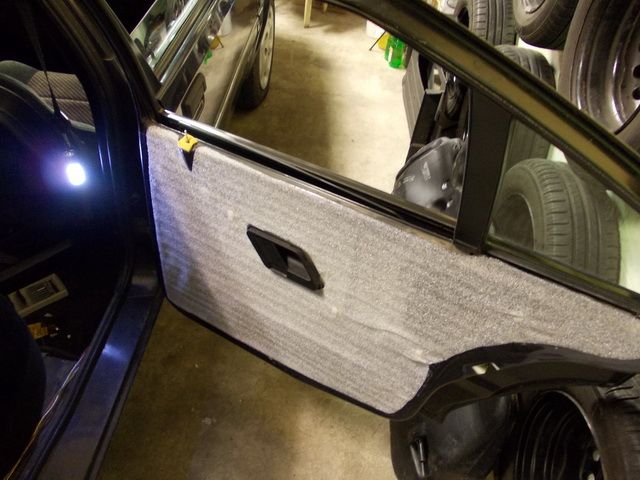
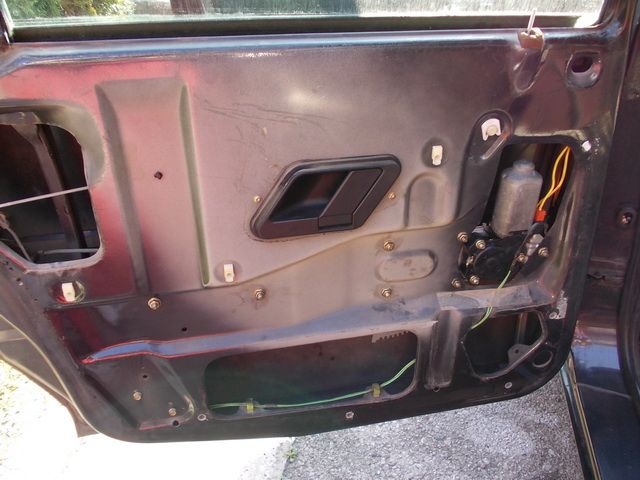
Next thing that has been done is fitting rear power windows. Everything was fitted as original.

Re: 1992 Bx Image from Serbia
Posted: Fri Aug 01, 2014 9:12 am
by BXImage
Re: 1992 Bx Image from Serbia
Posted: Fri Aug 01, 2014 9:15 am
by BXImage
Re: 1992 Bx Image from Serbia
Posted: Fri Aug 01, 2014 3:45 pm
by mds141
That's a lovely looking car Milos. Thanks for sharing the pictures.
Re: 1992 Bx Image from Serbia
Posted: Tue Aug 05, 2014 4:02 pm
by citsncycles
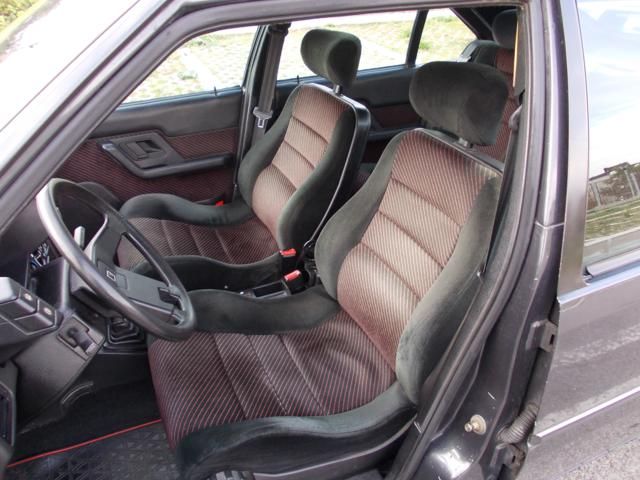
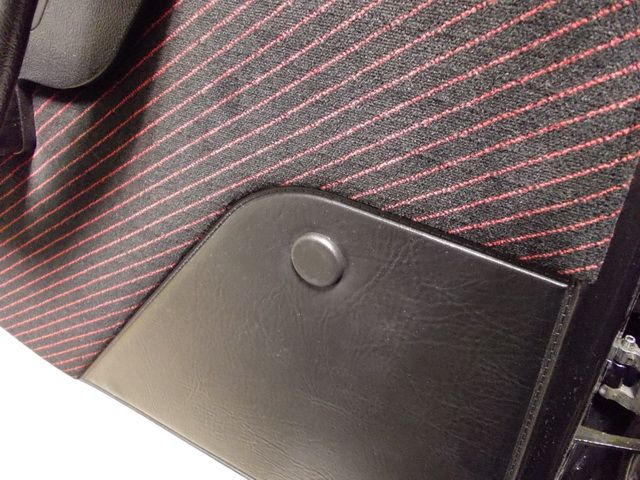
Where did you get the caps for the door panels from? My Mk1 estate has lower spec door cards fitted and I need to blank off the holes for the front winders.
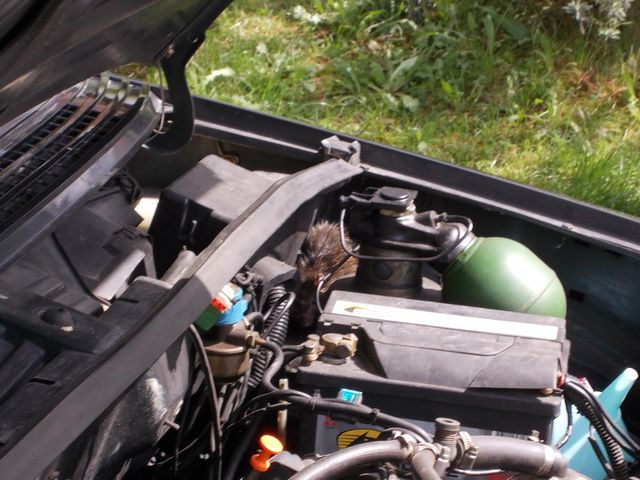
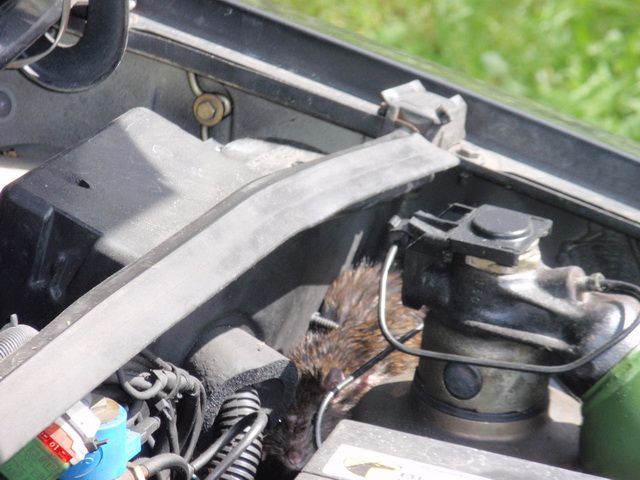
Lovely car, even with the wild life on board!
Re: 1992 Bx Image from Serbia
Posted: Fri Aug 15, 2014 5:26 pm
by BXImage
Sorry for the delay, I somehow missed you post.

I bought these caps in local DIY store, price was about 1-2 cents or so, guess they were empting some old stock. Not availiable at the moment.
Re: 1992 Bx Image from Serbia
Posted: Mon Aug 18, 2014 4:33 pm
by citsncycles
Thanks, I'll keep an eye out in my local stores and see what I can find.
Re: 1992 Bx Image from Serbia
Posted: Tue Aug 19, 2014 10:17 pm
by BXImage
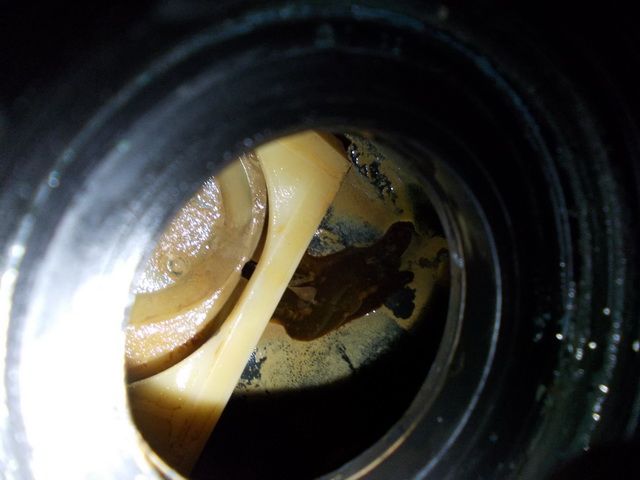
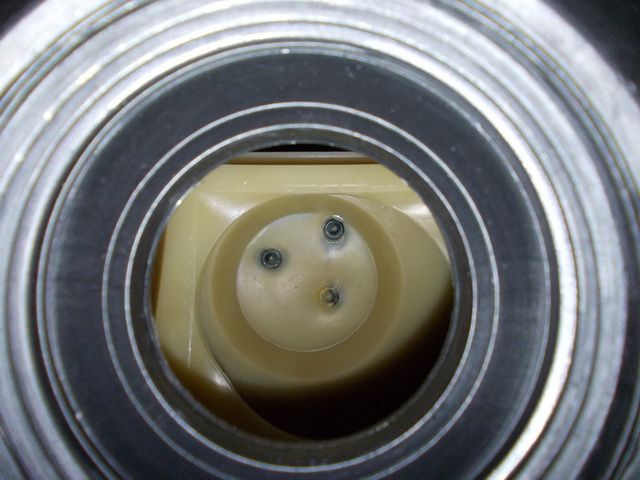
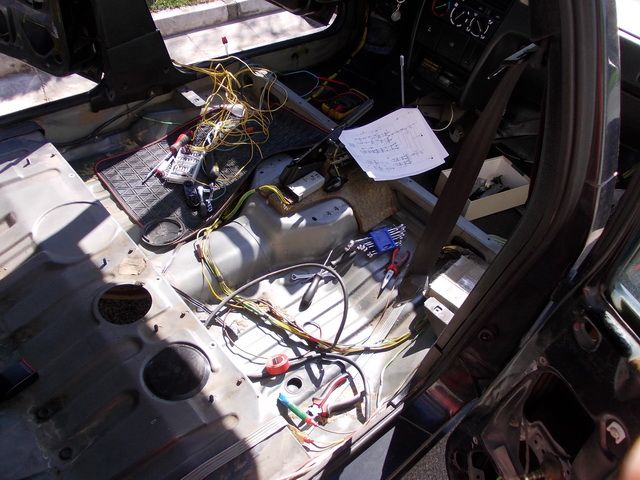
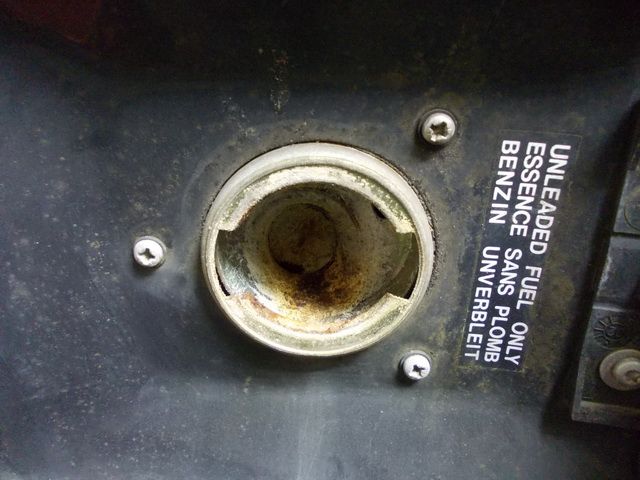
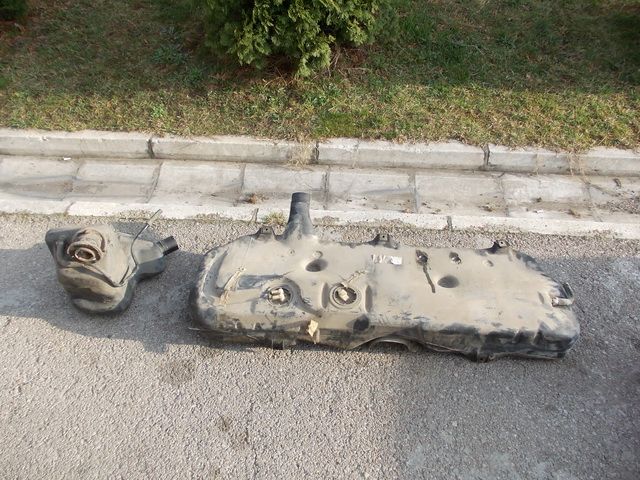
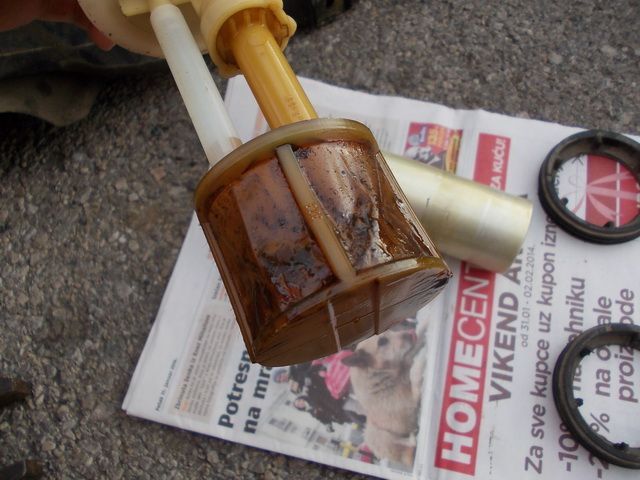
Since my BX has LPG installed, previous owner forgot about petrol system of course (some Citroen enthousiast indeed:-"), so it needed some atention.
Clearly, petrol wasn't coming trough here for some period of time (as turned out later, for about 5+ years):
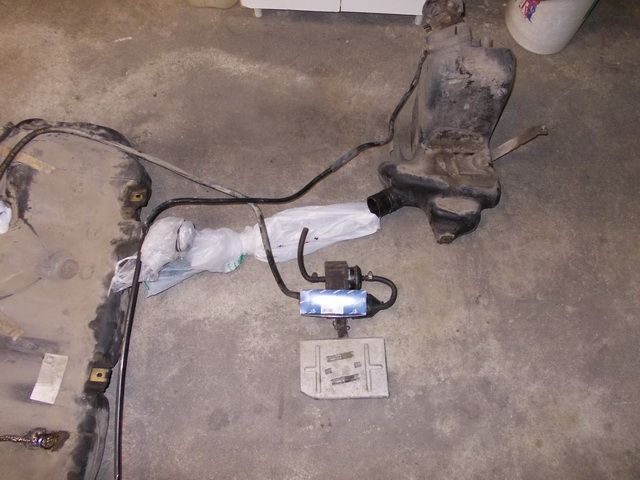
I wasn't taking the pictures of removing the tank since this was a completely new experience to me compared to removing 3 bolts on Visa to do the same.

In order to remember where everything goes, I made a "model" in the garage and took some pictures:
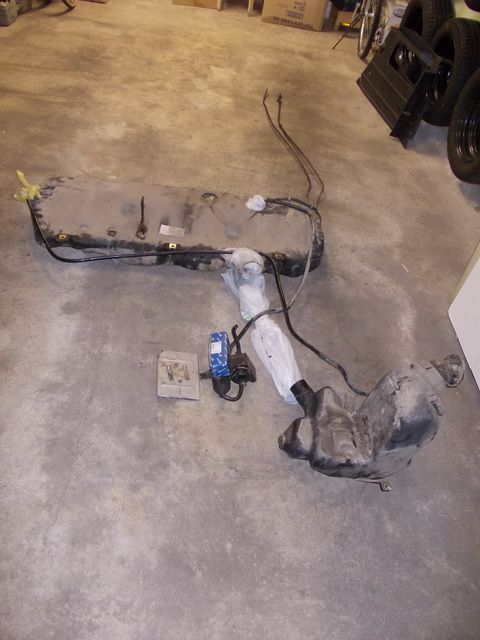
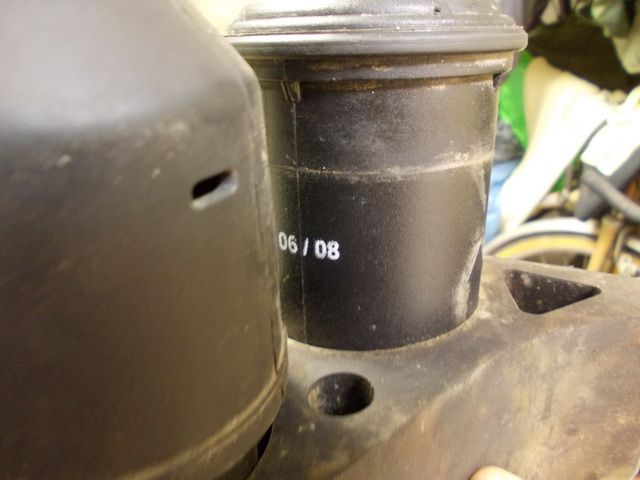
Production date of fuel filter

:
Re: 1992 Bx Image from Serbia
Posted: Tue Aug 19, 2014 10:23 pm
by BXImage
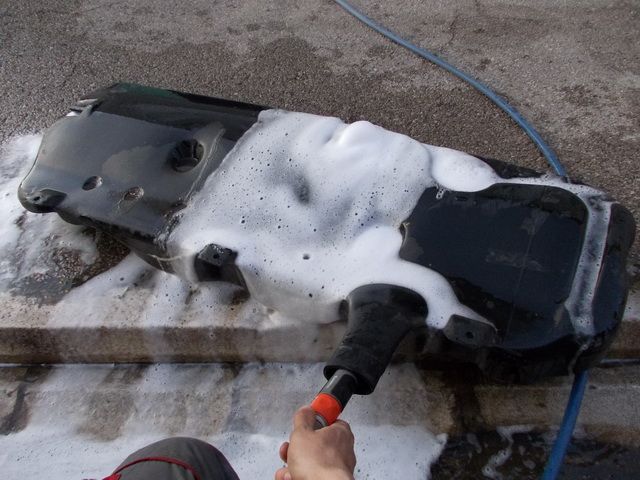
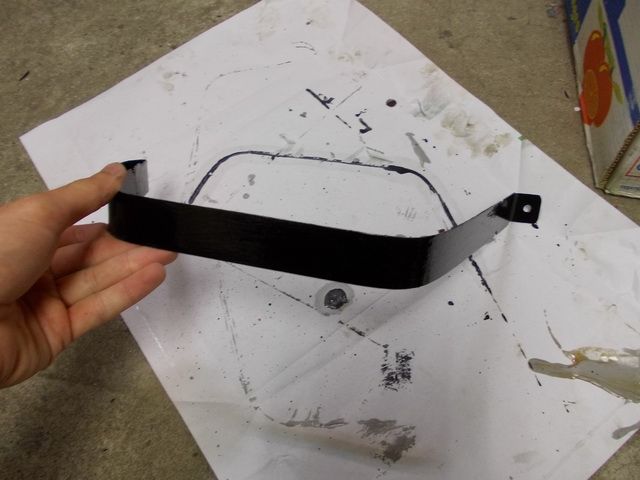
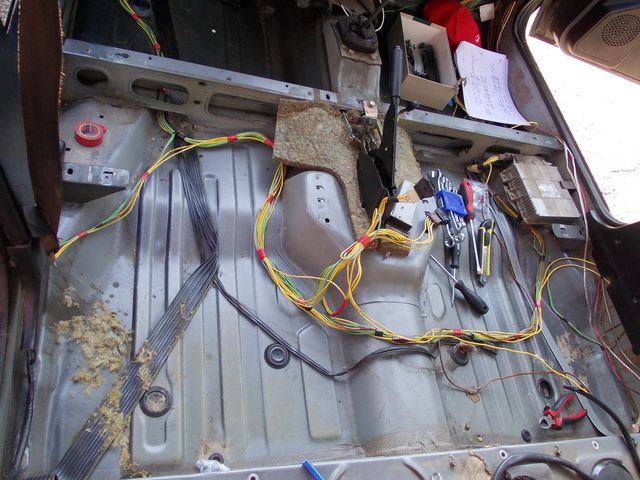
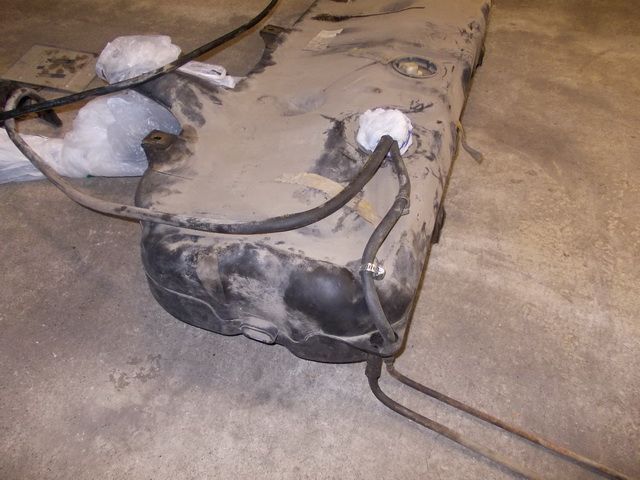
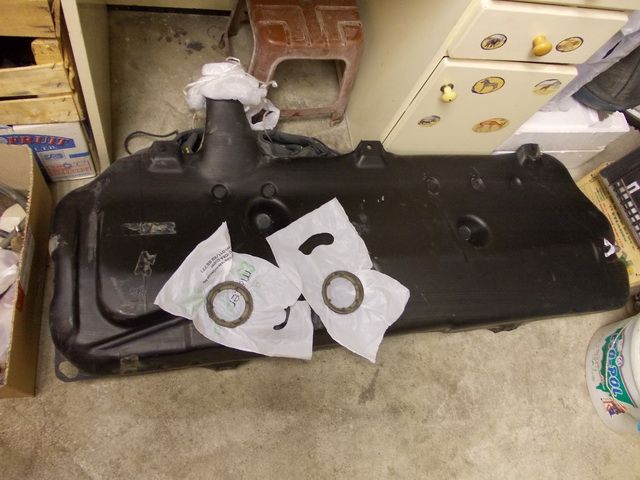
First step - getting everything nice&clean.
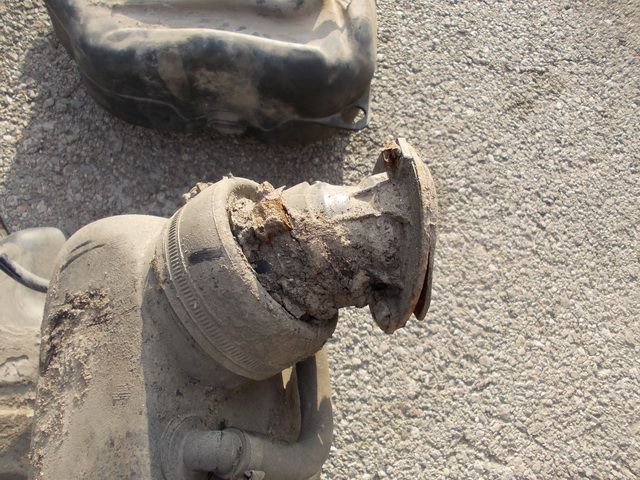
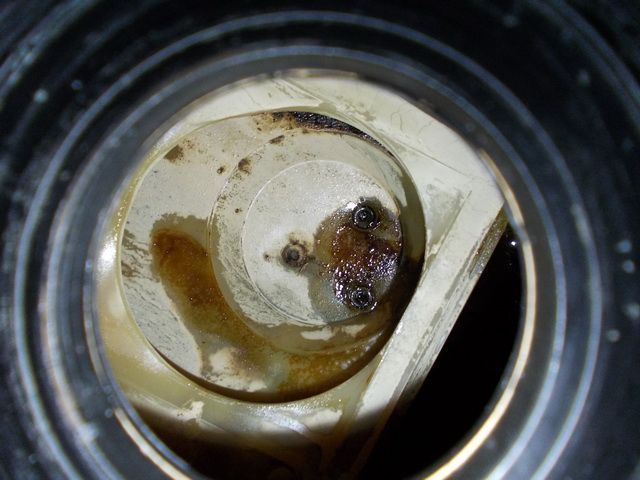
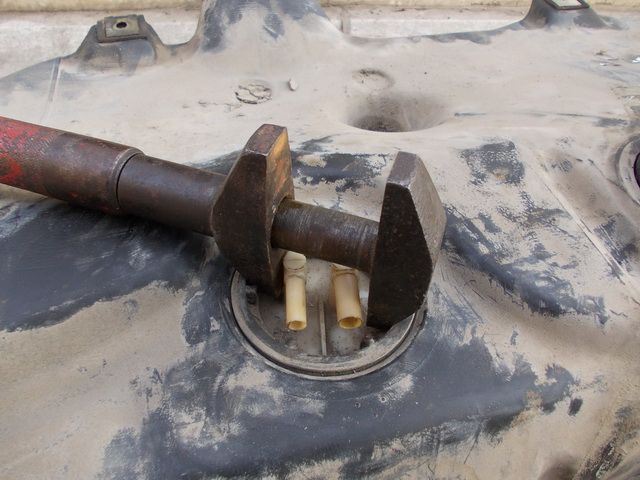
Removing the rheostat and tank recess can be a pain in the ass, since plastic rings are stuck to the rubber seals and tank itself in most cases. I used old school french wrench - just open it enough to slide in the ring and turn.
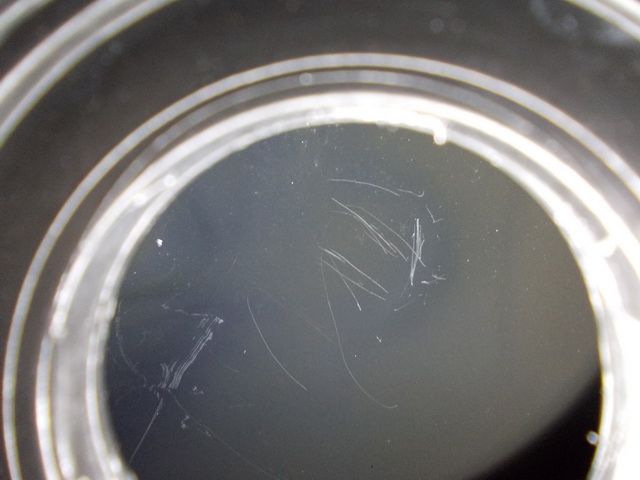
Tank recess, close look. Here I was certain that this isn't going to be just walk in the park:
Re: 1992 Bx Image from Serbia
Posted: Tue Aug 19, 2014 10:26 pm
by BXImage
Re: 1992 Bx Image from Serbia
Posted: Tue Aug 19, 2014 10:35 pm
by BXImage
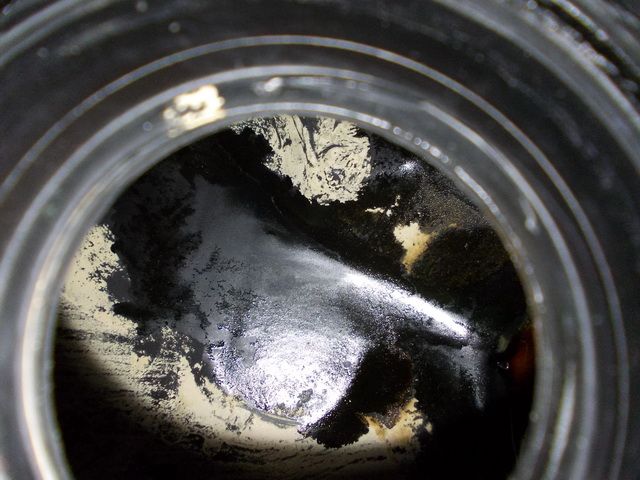
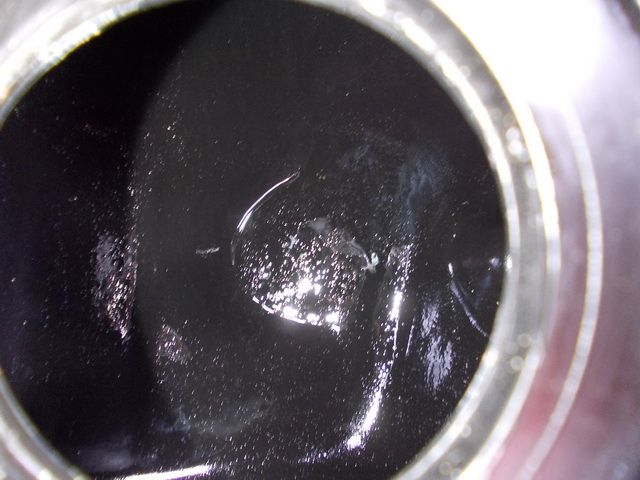
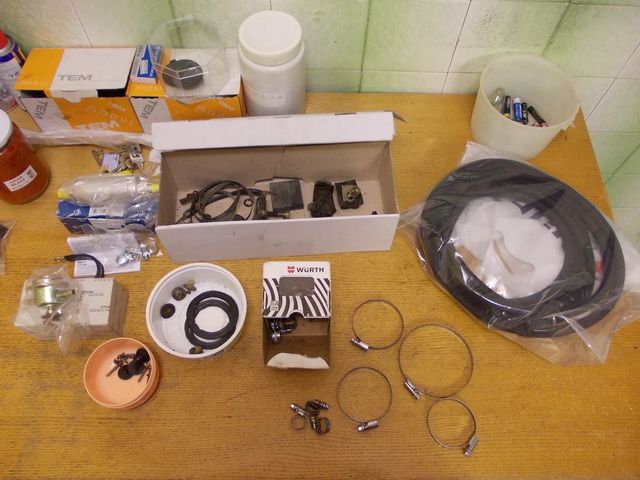
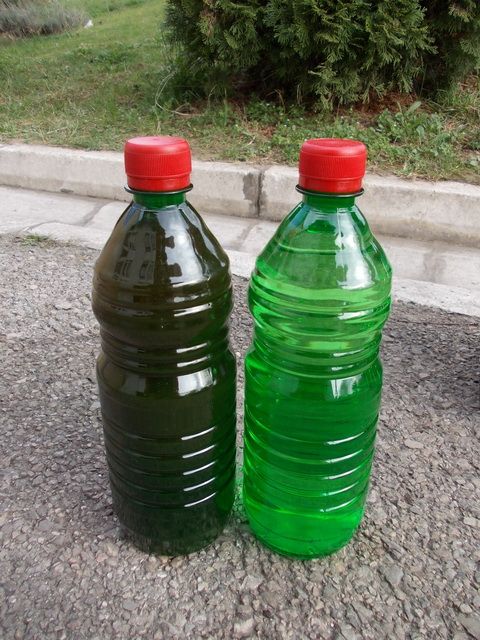
This demands some heavy artillery. About 8 litres of nitro thinner was poured in the tank, the tank was sealed and left for approx. 2 weeks. Of course, shaking it from time to time and changing positions is a must.
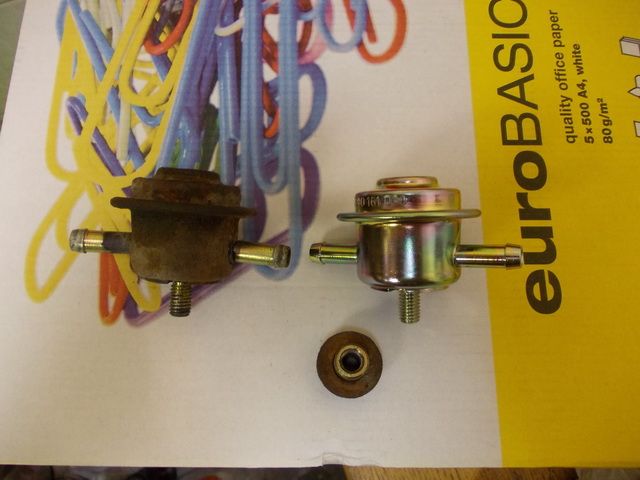
While waiting, I managed to find new fuel pressure damper - NOS from local Peugeot dealer, with 50% discount!

Also, some other universal stuff was bought - clips, hoses (Wurth), and of course 1.8 bar pressure external fuel pump - ref. No. 721440780 Pierburg.
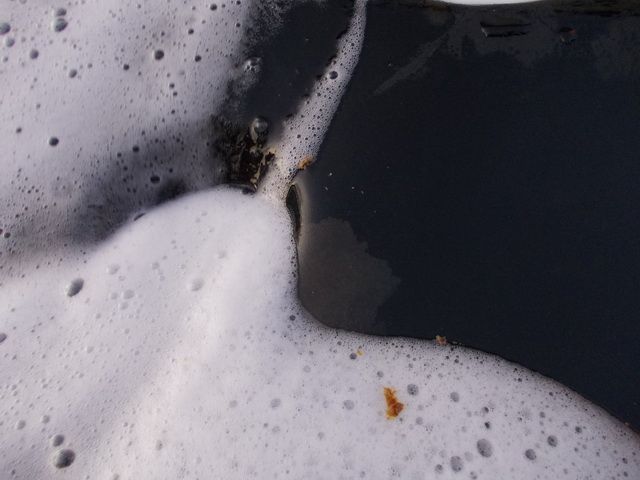
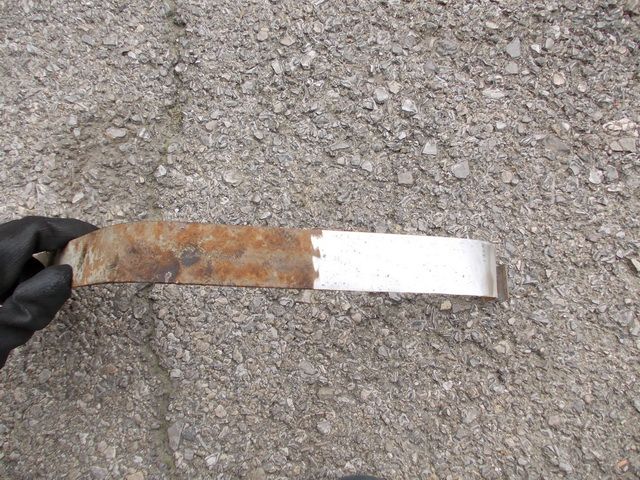
After 2 weeks, e removed the thinner from the tank. Comparsion - before and after:
Re: 1992 Bx Image from Serbia
Posted: Tue Aug 19, 2014 10:40 pm
by BXImage